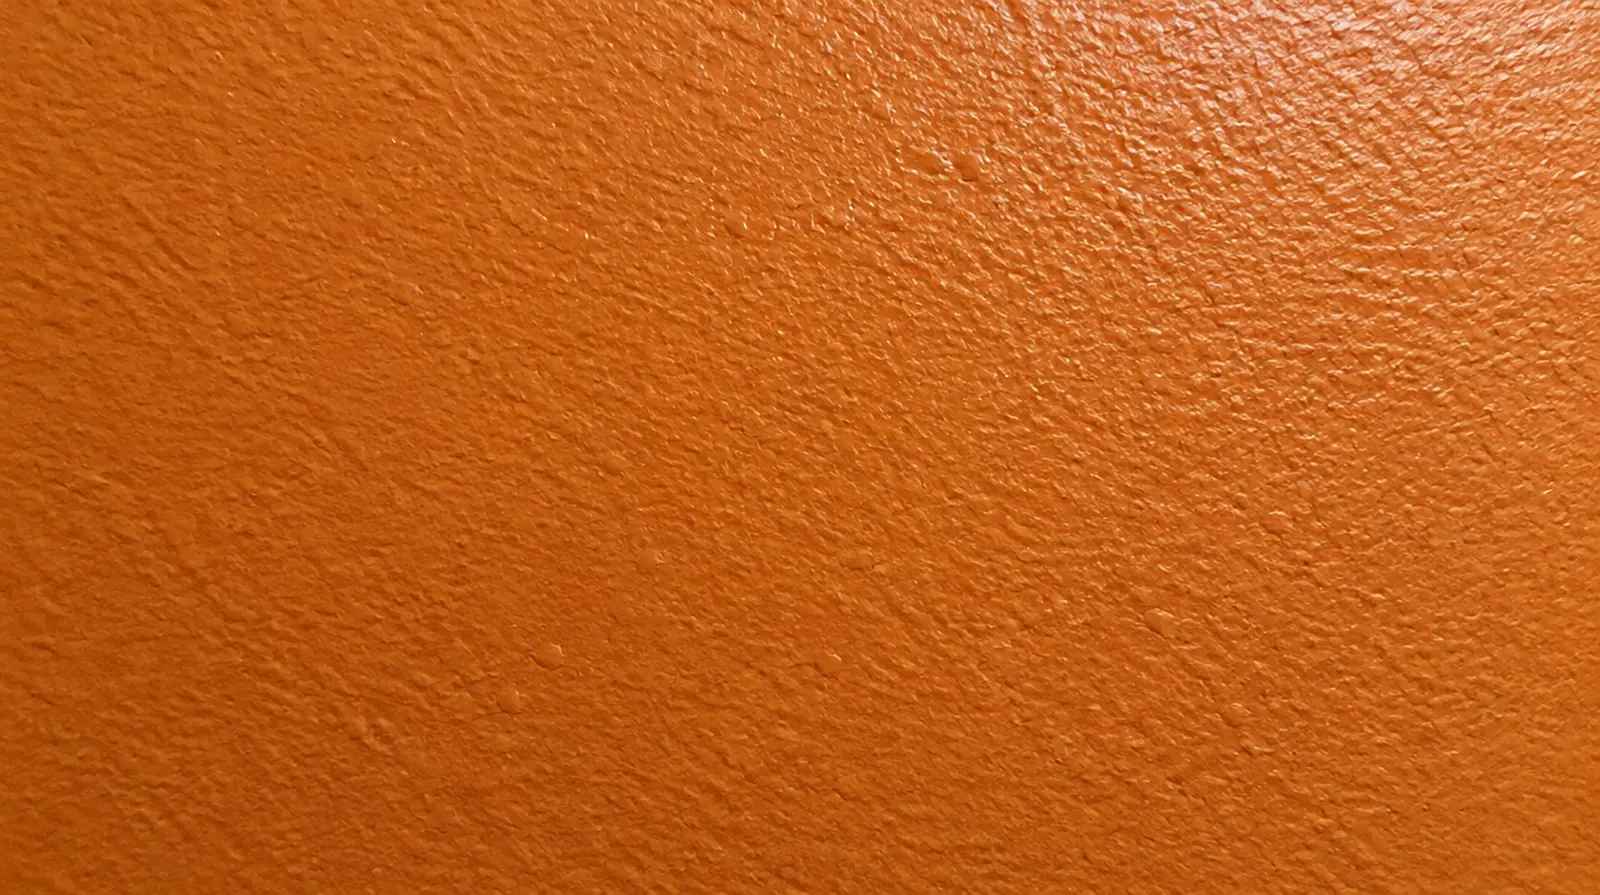
Allow time before painting
Let a new texture become ready for decoration rather than applying paint onto soft material. The quote should explain whether the next decorating stage is included or left to a painter. If an independent painter completes decoration, agree the condition of the handed over surface and assign responsibility for small final corrections.
Judge from normal positions
Assess the dried texture from everyday viewpoints rather than judging only a close view of a wet sample. Include side lighting and the planned decorative paint sheen when deciding whether the result meets the agreed scope. For a room with restricted airflow, plan drying conditions alongside dust protection and the comfort of people occupying neighboring spaces.
Prepare a sample area
Use a limited trial to compare the scale, distribution and flattening of the proposed finish. Reviewing the sample before coating the full repair reduces uncertainty about the expected blend. When painting is outside the proposal, describe the remaining decorative preparation clearly so another contractor can price that stage accurately.
Protect surrounding finishes
Mask adjacent materials against sprayed compound and other application debris. Protect the full reach of the operation, including fittings and trim beyond the original damaged spot. When a wall has repeated defects, keep a record of earlier repair attempts so a new assessment does not simply repeat an unsuccessful approach.
Control application conditions
Compound consistency and application distance affect how a sprayed pattern lands on the wall surface. Room conditions and drying rate also influence when a knockdown pass should be made. When the same defect has returned, share information about previous repair methods so the next assessment can consider why they did not last.
Blend beyond the patch
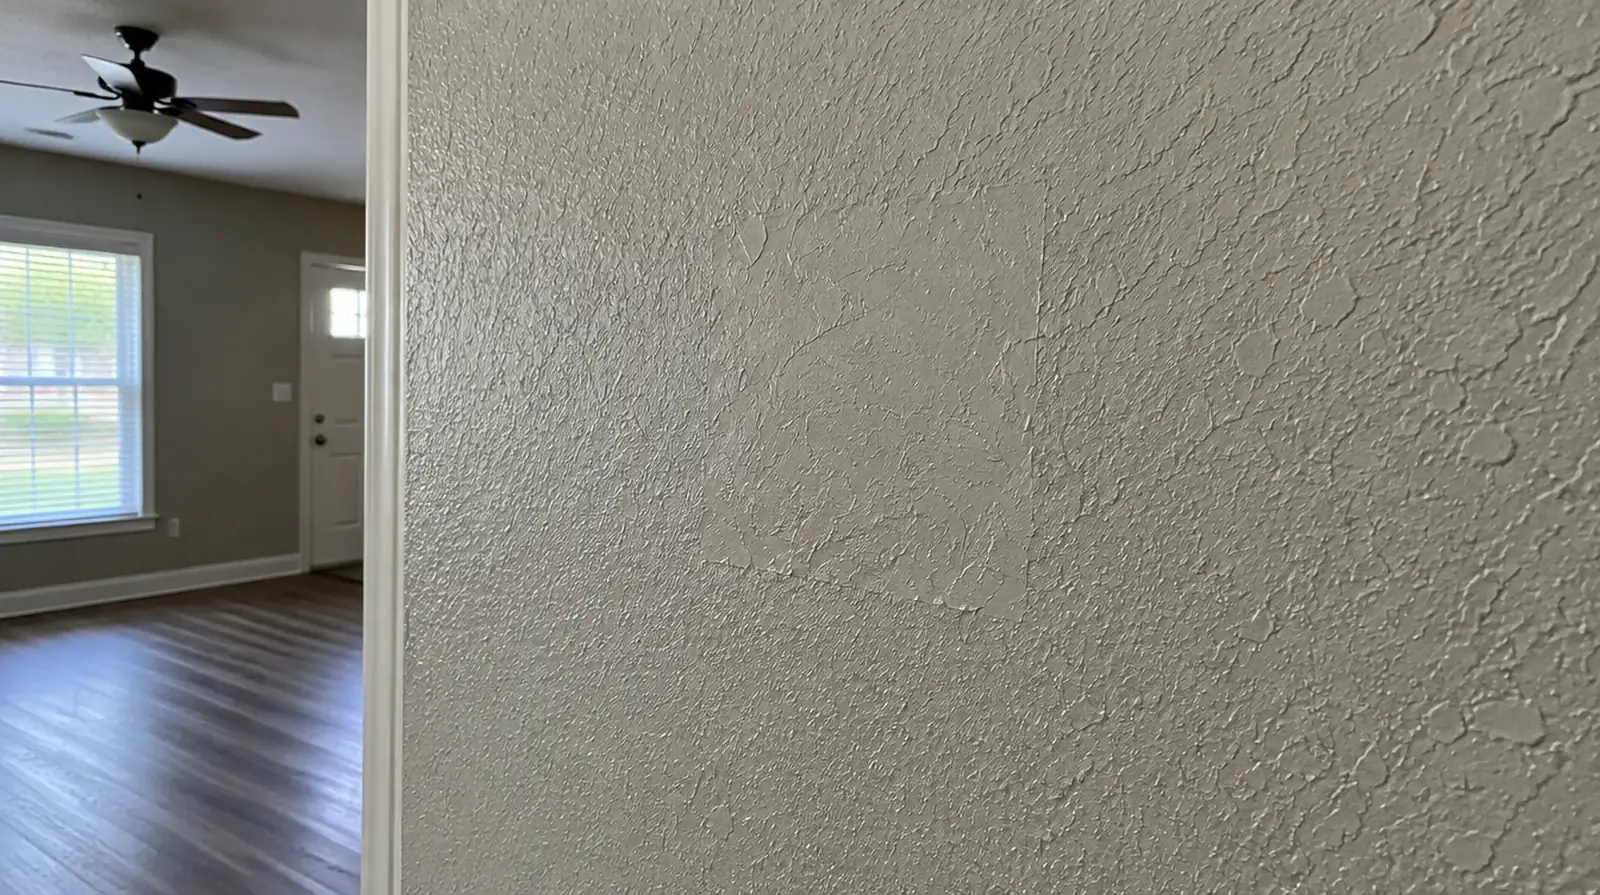
An abrupt rectangular texture boundary often draws attention even when the pattern itself is close. Gradually extending the texture into the surrounding surface may make the blend less abrupt. Where a finished perimeter is prominent, decide whether trim stays in position or is removed before agreeing how the new surface meets that edge.
Check the underlying repair
A matching texture cannot hide a raised patch edge or a panel that sits proud of the wall. The base repair ought to be flat and firmly bonded before a decorative pattern is added. When the wall has strong reflected light, look at the full plane rather than judging only the narrow strip immediately beside the patch.
Study the paint layers
Older paint coats may have filled or rounded the original texture profile. Matching the wall surface as it looks now could call for a differing application from the pattern that was first installed. Where a future fixture will be installed, coordinate any required backing while the cavity is accessible instead of reopening the completed wall.
Identify the existing pattern
First determine how the current texture creates its pattern and relief. Examine the surface in the light the interior actually receives before choosing a spray or hand applied method. When reviewing the finished work, use the agreed lighting and natural room viewpoints so the assessment reflects the intended use of the space.
Consider hand applied surfaces
For a troweled pattern, the tool movement and the spacing between its marks matter. A sample is notably helpful when the current finish was created without a regular sprayed pattern. For a room with restricted airflow, plan drying conditions alongside dust protection and the comfort of people occupying neighboring spaces.
Project context in Jackson
A broad skim treatment may address surface variation, but it is not a substitute for investigating active moisture or movement. A Jackson room with visible outlines from older patches needs an assessment of more than the latest blemish.
Scope questions before finishing
For an initial assessment from pictures, provide an overall room photograph and a detailed view of the defect so both context and scale are apparent.
When the same defect has returned, share information about previous repair methods so the next assessment can consider why they did not last.
In a room with little free floor space, identify temporary storage for belongings and establish sufficient clearance for the work before delivery.
Where light reflects along the wall surface, inspect the complete plane instead of limiting the review to the edge immediately next to the repaired section.
If occupancy must resume on a certain day, include the later primer and paint stages in the timetable as well as drywall installation and finishing.
Where the quoted work stops before painting, request a clear description of what remains so the next decorating stage can be priced realistically.
Where a neat final edge matters, agree whether the finish ends against existing trim or whether that trim will be removed and replaced.
When the wall has strong reflected light, look at the full plane rather than judging only the narrow strip immediately beside the patch.
At a surface receiving strong window light, review a dried trial from the side in addition to the normal straight view of the wall surface.
If the interior will remain occupied, identify a practical separation between the project space and the space that still needs daily access.
Where a finished perimeter is prominent, decide whether trim stays in position or is removed before agreeing how the new surface meets that edge.
When building management controls access, agree delivery hours and common area protection before committing to a start or finish date.
Explore the Jackson drywall overview for related options, or read the project planning information before arranging the next stage.
More planning details for Jackson
Note whether the old edges are raised, whether the paint sheen changes across them and whether the underlying material remains firm. Share any history of seasonal changes so the proposal can separate those concerns. In humid weather, allow the room to reach suitable working conditions before setting a tight finishing deadline.