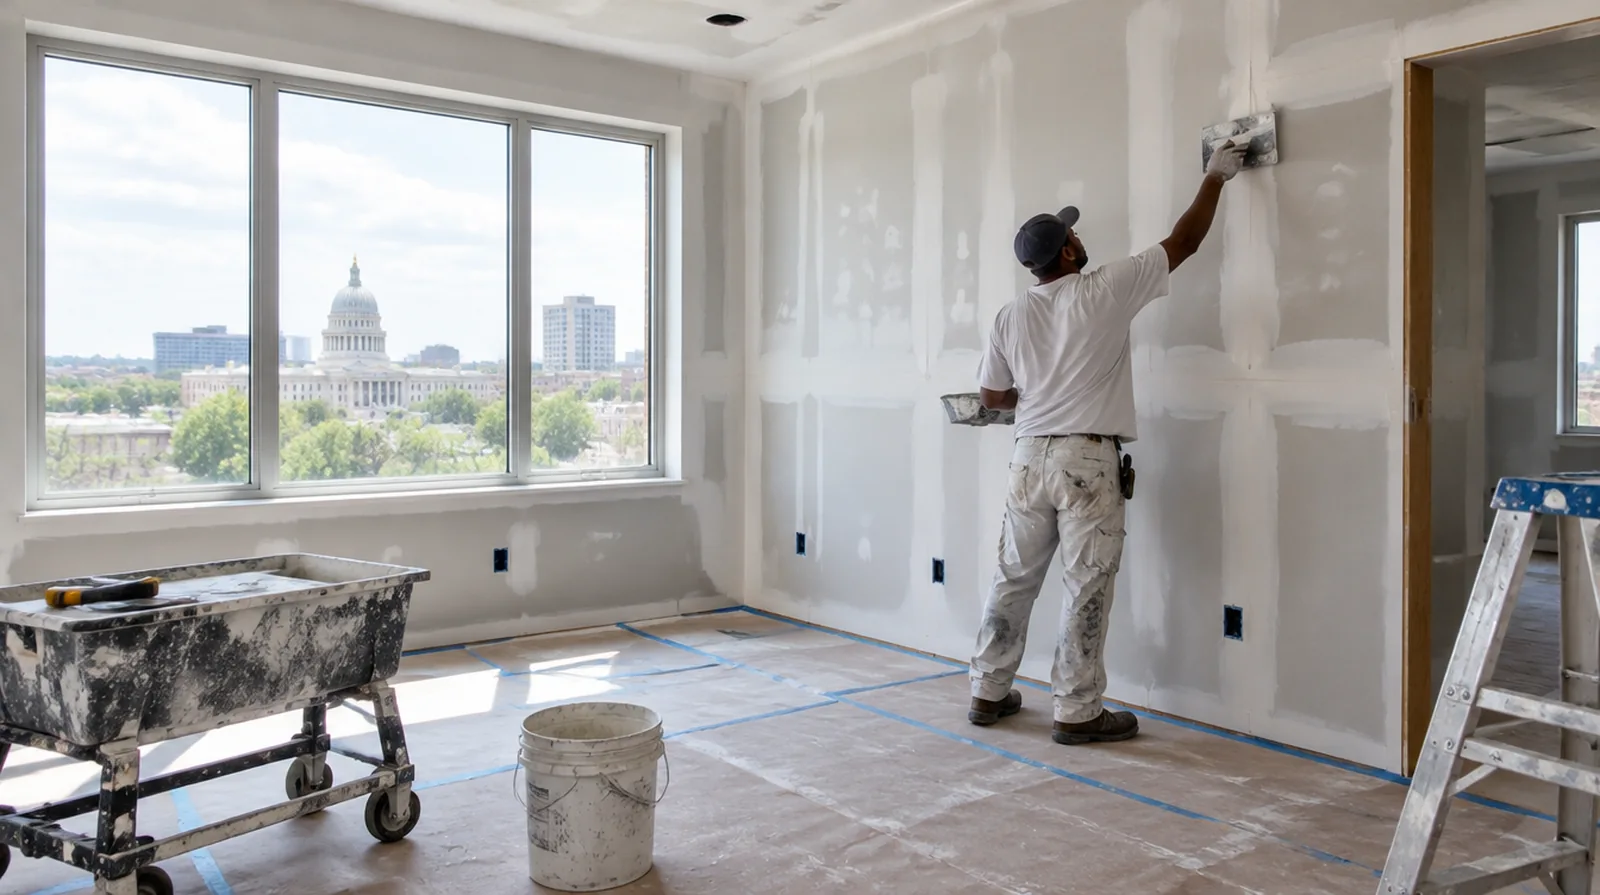
Coordinate with the painter
Primer may expose small imperfections that were challenging to see on the raw white surface. Establish responsibility for those final adjustments and any review after priming before the work starts. When concealed damage is possible, establish how additional findings and any proposed removal will be recorded before the scope changes.
Use controlled sanding
Sanding should refine small tool marks instead of grind away a badly shaped joint. Dust extraction and protection matter even for a room with only a few seams. Where occupants have dust sensitivity concerns, agree containment and cleaning measures before settling the way the interior will be staged.
Keep external corners straight
A corner profile only produces a straight visible line when it is fitted and coated correctly. Dents or twists should be corrected before the finish locks them into the wall surface. If occupancy must resume on a certain day, include the later primer and paint stages in the timetable as well as drywall installation and finishing.
Choose joint materials
Joint bedding and the last surface coats do not necessarily call for identical products. Selection should reflect joint type, room conditions and the manufacturer guidance rather than convenience alone. If the space will remain occupied, identify a practical separation between the protected room and the space that still needs daily access.
Agree on the visual standard
Agree how the completed wall will be viewed and decorated before choosing the finishing standard. A stated finish level helps both the drywall trade and the decorating trade work toward the same result. For a room that stays in use, set a workable boundary around construction while retaining the access people need for normal daily activities.
Consider a skim layer
Broad grazing light can reveal a difference in texture between the paper face and finished joints. A suitable skim treatment can help create a more uniform surface when the specification calls for it. Where the wall meets fixed furniture, clarify whether removal is included or whether the finish will terminate at the accessible edge.
Allow genuine drying time
A firm outer skin does not always mean the material beneath it is ready for sanding. Temperature, air movement and room humidity affect the interval between stages of finishing. If the wall work belongs to a broader renovation, coordinate its order with flooring, cabinetry and trim instead of scheduling finishing in isolation.
Build the seam gradually
Successive coats widen the finished area and soften the transition from joint to board face. Butt joints usually need a broader blend because they lack the recessed edges of factory seams. For a room with restricted airflow, plan drying conditions alongside dust protection and the comfort of people occupying neighboring spaces.
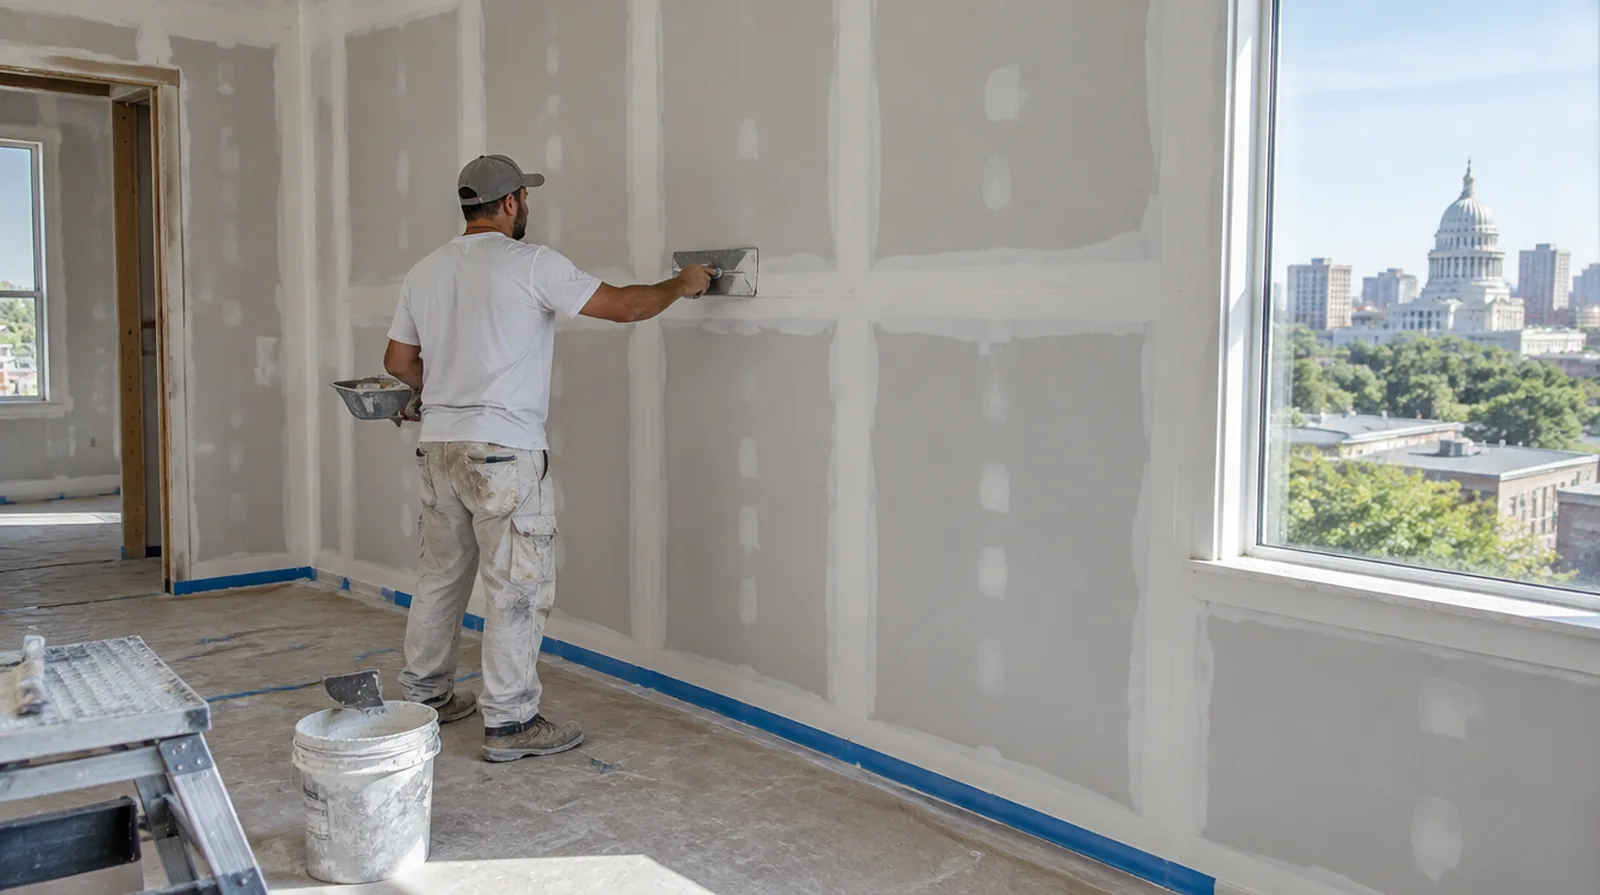
Inspect the whole wall
Checking only the joint lines misses transitions near corners, ceiling edges and electrical boxes. Check the finished plane under the planned lighting and from a side angle where possible. If occupancy must resume on a certain day, include the later primer and paint stages in the timetable as well as drywall installation and finishing.
Cover fastener heads
Fill fastener depressions level with the surrounding face without creating avoidable mounds. Adjust any projecting or paper breaking screw before applying material over the location. If a separate painter completes decoration, agree the condition of the handed over surface and assign responsibility for small final corrections.
Project context in Jackson
Protection should include the path through adjacent rooms as well as the immediate floor area. A broad skim treatment may address surface variation, but it is not a substitute for investigating active moisture or movement.
Scope questions before finishing
Where several contractors share the renovation, identify the inspection and handover milestones that determine when each following stage can proceed.
For a project involving a building manager, confirm access hours and protection requirements before promising a start date or a short completion window.
If the wall work belongs to a broader renovation, coordinate its order with flooring, cabinetry and trim instead of scheduling finishing in isolation.
In a room with little free floor space, identify temporary storage for belongings and establish adequate clearance for the work before delivery.
When the history of a repair is uncertain, note when it became visible and whether its appearance has altered across differing seasons.
At a ceiling or wall containing fittings, assign removal and reinstatement duties for the affected devices before repair access is needed.
Where a neat final edge matters, agree whether the finish ends against existing trim or whether that trim will be removed and replaced.
For a small repair with extensive setup, compare the total scope instead of assuming the price should follow the hole dimensions alone.
If the decorative coating is already chosen, share its sheen and color early because those choices influence how preparation of the surface is judged.
For an older repair with no clear history, describe when the mark first appeared and whether it has changed through more than one season.
When the wall has strong reflected light, look at the full plane rather than judging only the narrow strip immediately beside the patch.
If access passes through a shared space, arrange protection and a delivery route that do not unnecessarily obstruct other occupants.
Explore the Jackson drywall overview for related options, or read the project planning information before arranging the next stage.
More planning details for Jackson
A Jackson room with visible outlines from older patches needs an assessment of more than the latest blemish. Note whether the old edges are raised, whether the paint sheen changes across them and whether the underlying material remains firm. Share any history of seasonal changes so the proposal can separate those concerns.