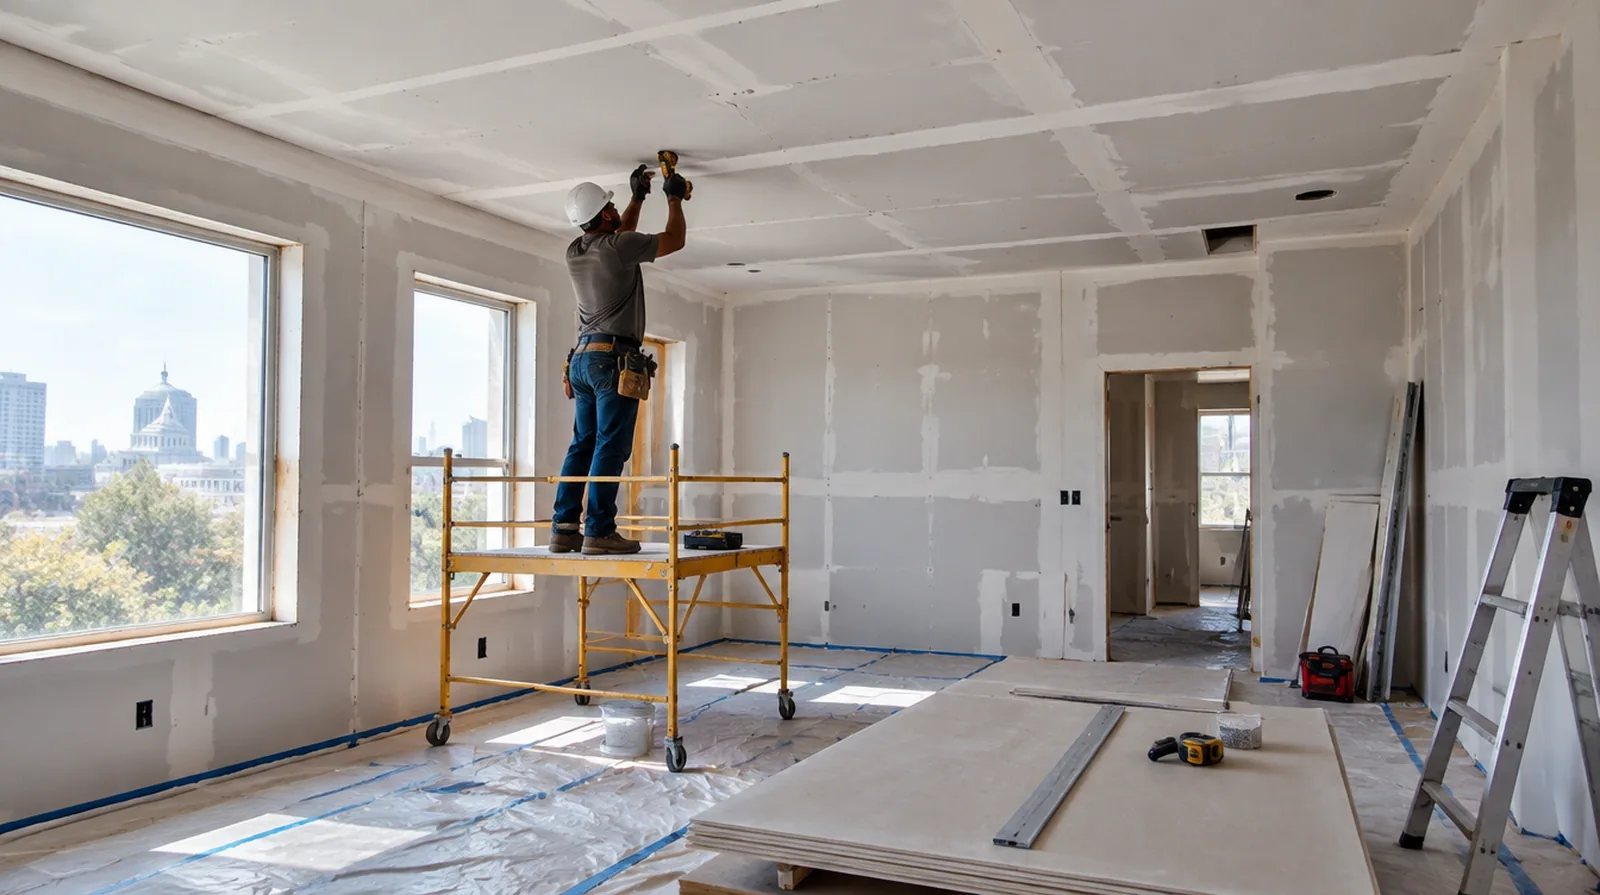
Plan overhead access
Plan suitable overhead working access around the space height and its contents. Large fixtures and delicate flooring can influence setup time more than the size of the damaged spot. If the coating stability is unclear, assess which layers are adequately bonded and which should be removed rather than simply hidden beneath new material.
Separate fixtures from board work
Handling lights, sprinkler fittings and air grilles can require appropriate trades and building coordination. Assign removal and reinstatement responsibilities for any fitting that blocks safe repair access. At a ceiling or wall containing fittings, assign removal and reinstatement duties for the affected devices before repair access is needed.
Evaluate sagging sections
A sagging ceiling needs its supports, fixings and damaged materials assessed, not simply smoothed. Avoid using the area beneath a potentially unstable section until it has been evaluated appropriately. If the completion date matters most, allow for intervals between coats as well as active labor instead of assuming the entire process happens continuously.
Review the room after drying
Once the coats are dry, view the ceiling from normal room positions and near its principal windows. Identify outstanding paint preparation while protection and access are still available. For an initial assessment from pictures, provide an overall room photograph and a detailed view of the defect so both context and scale are apparent.
Check the source of damage
A ceiling stain or soft area may be caused by plumbing or another moisture source above the room. The cause needs resolution before cosmetic repair can reasonably be expected to last. For a planned new wall mounted fixture, resolve its backing requirements while the cavity remains open instead of cutting into completed drywall later.
Discuss texture expectations
A smooth ceiling and a textured ceiling need distinct finishing plans around the repaired section. A representative sample makes it easier to judge whether the existing pattern can be blended locally. Where the wall meets fixed furniture, clarify whether removal is included or whether the finish will terminate at the accessible edge.
Cut back to sound material
Water softened gypsum and loose edges do not provide a dependable base for a new patch. Cut to a stable boundary that also permits secure fixing and an effective finishing blend. For a tightly furnished room, plan temporary storage and the minimum working clearance before material is carried into the property.
Identify the existing surface
Check whether the overhead finish is gypsum board, plaster or a mixture of older layers. The right repair depends on that actual construction rather than the color of its painted face. Where a surface has been painted many times, consider whether differences in texture or sheen will require a wider decorative treatment.
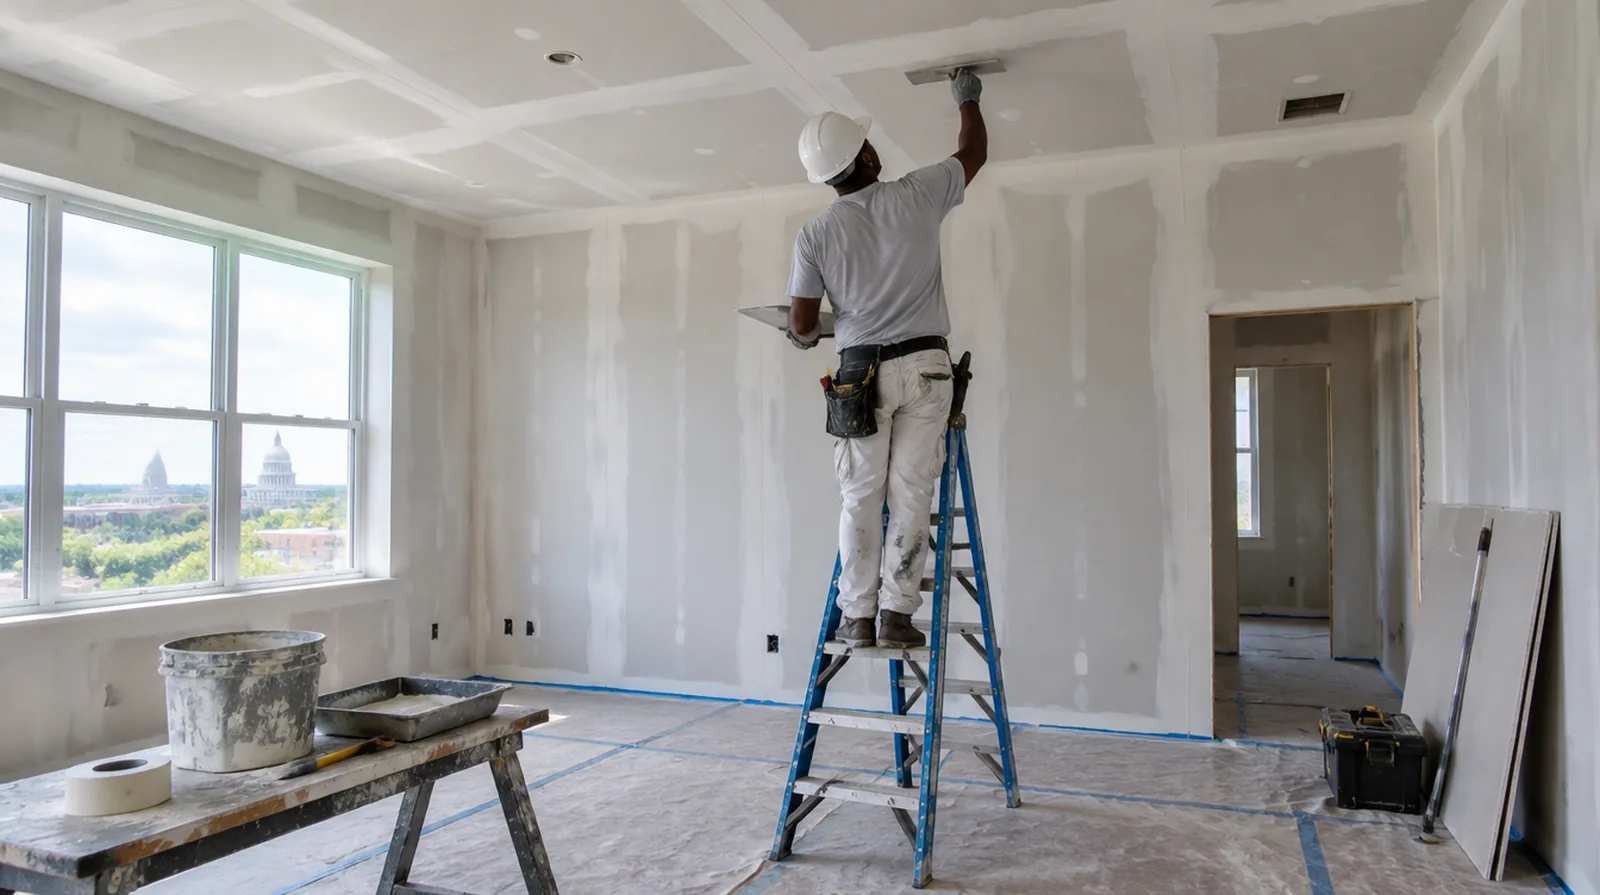
Set the repainting scope
A small fresh white patch can stand out against an older ceiling even when the surface is level. A broader repaint to a logical room boundary can provide a more even decorative result. For a planned new wall mounted fixture, resolve its backing requirements while the cavity remains open instead of cutting into completed drywall later.
Add reliable backing
A ceiling patch needs fastening support on its edges instead of relying on compound to carry its weight. Fit compatible board thickness so the old and new faces meet without an unneeded step. For a planned new wall mounted fixture, resolve its backing requirements while the cavity remains open instead of cutting into completed drywall later.
Project context in Jackson
Note whether the old edges are raised, whether the paint sheen changes across them and whether the underlying material remains firm. In humid weather, allow the room to reach suitable working conditions before setting a tight finishing deadline.
Scope questions before finishing
When the wall surface has strong reflected light, look at the full plane rather than judging only the narrow strip immediately beside the patch.
For a small repair with extensive setup, compare the total scope rather than assuming the price should follow the hole dimensions alone.
Where occupants have dust sensitivity concerns, agree containment and cleaning measures before settling the way the space will be staged.
If the problem developed after another renovation, explain which nearby materials or building systems changed before the damage became visible.
For a repair that crosses several surfaces, measure the affected planes separately so the estimate can explain where each finishing treatment starts and stops.
When damage followed other building work, describe the nearby alterations and the sequence between those changes and the first visible defect.
Where existing floors will remain, specify protective measures and review the path used by panels, equipment and finishing tools.
While a removed panel exposes the wall cavity, complete the necessary review of concealed work before replacement board closes the opening.
If the original finish is unusual, keep a small reference sample or a close photograph to support the discussion about blending and restoration.
When building management controls access, agree delivery hours and common area protection before committing to a start or finish date.
For a project involving a building manager, confirm access hours and protection requirements before promising a start date or a short completion window.
For a room with restricted airflow, plan drying conditions alongside dust protection and the comfort of people occupying neighboring spaces.
Explore the Jackson drywall overview for related options, or read the project planning information before arranging the next stage.
More planning details for Jackson
A Jackson room with visible outlines from older patches needs an assessment of more than the latest blemish. A broad skim treatment may address surface variation, but it is not a substitute for investigating active moisture or movement. Share any history of seasonal changes so the proposal can separate those concerns.